How to Configure an AWS Instance for a Jethro Server
This post walks you through the steps of configuring an Amazon AWS instance to be used as a Jethro server. It assumes that you already have a running Amazon AWS instance created of the "Jethro Query Node" AMI.
If you haven't created an instance yet, go to How to Set Up an Amazon AWS Instance in order to create and run an instance.
Upgrade Jethro
- Use the external IP address you created and login to the instance using ssh with the key you provided in the instance creation and the user “ec2-user”
- The machine contains a directory called “scripts” in the ec2-user home directory. The scripts directory contains the following scripts:
upgradeJethro.sh – For upgrading to the latest Jethro software.
mountVolumes.sh – To mount the extra volumes that were added when creating the instance (see below).
mountS3Bucket.sh – To mount an Amazon S3 bucket as a file system.
unmountS3Bucket.sh – To unmount an Amazon S3 bucket file system.

- Run the script upgradeJethro.sh to make sure you use the latest Jethro release.
Mount additional volumes
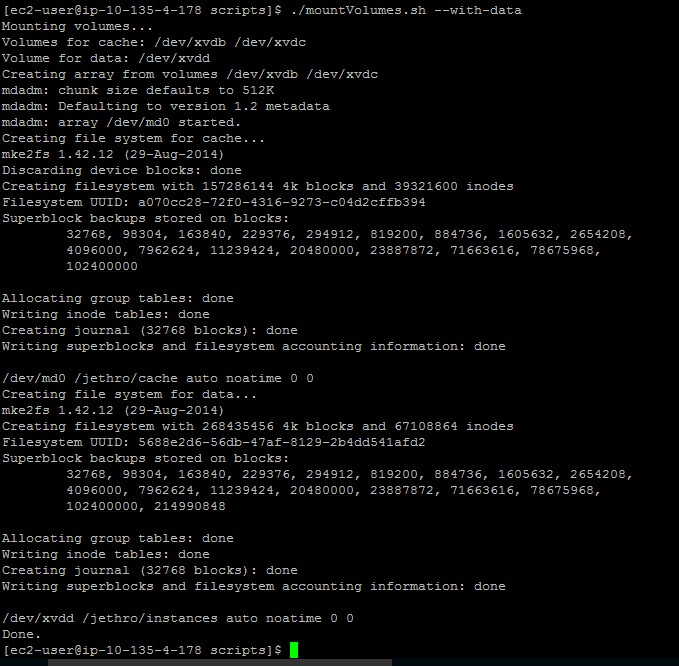
- You can use the mountVolumes.sh script located in the scripts directory in the ec2-user home directory to automatically mount the volumes to be used for Jethro cache and storage. Or you can skip to step 2 and mount the volumes manually.To mount the volumes, run the command:
./mountVolumes.sh

After running the script, you can use the command “df –h” and you should see a volume mounted to /Jethro. Inside this directory you will find 2 directories, "cache" and "instances" which can be used for cache and data respectively.The scripts also adds the mounts to the /etc/fstab file so the volumes will be automatically mounted after reboot.
- If you used the script to mount the volumes automatically, you can skip the rest of the steps in this section. Or you can continue with mounting the volumes manually.
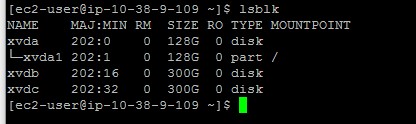
- Use the “lsblk” command to show all available volumes.
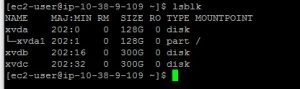
In this example the volume /dev/xvda1 is mounted as the root device and there are 2 additional devices /dev/xvdb and /dev/xvdc which are not mounted. Note that the command omits the /dev prefix from the device name. - Next, we will create an array of the 2 devices. If you have only one additional device, skip this step.Run the following command to create a raid 0 array:
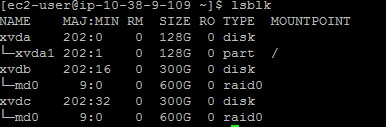
sudo mdadm --create --verbose /dev/md0 --level=0 --raid-devices=2 /dev/xvdb /dev/xvdc

Running “lsblk” again shows the following:
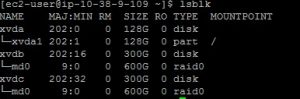
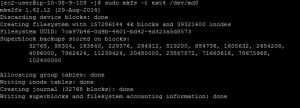
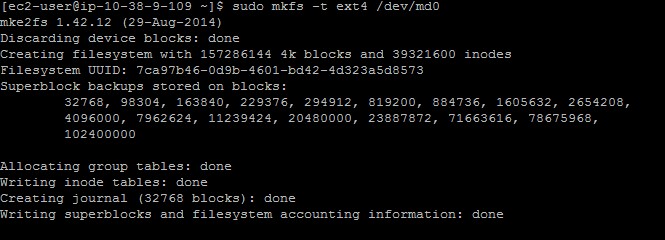
- Next we will create a file system.Run the following command. If you have only one additional device and did not run the previous step, replace /dev/md0 with the device name (most likely /dev/xvdb):
sudo mkfs -t ext4 /dev/md0
- Mount the file system by running the following, replacing the device name if required:
sudo mount /dev/md0 /Jethro
- Next, run the following commands to create the cache and instances directories and to change the ownership to user jethro:
sudo mkdir /jethro/cache /jethro/instances
sudo chown -R jethro:jethro /jethro
- You can add the following line to /etc/fstab in order for the volume to be automatically mounted after reboot, replacing the device name if required:
/dev/md0 /jethro/cache auto noatime 0 0
Now you have an Amazon AWS instance that is configured to be used as a Jethro Server.